Best Japan eSIM 2026: Cheap Tourist Plans Compared
Best Japan eSIM 2026: Cheap Tourist Plans Compared
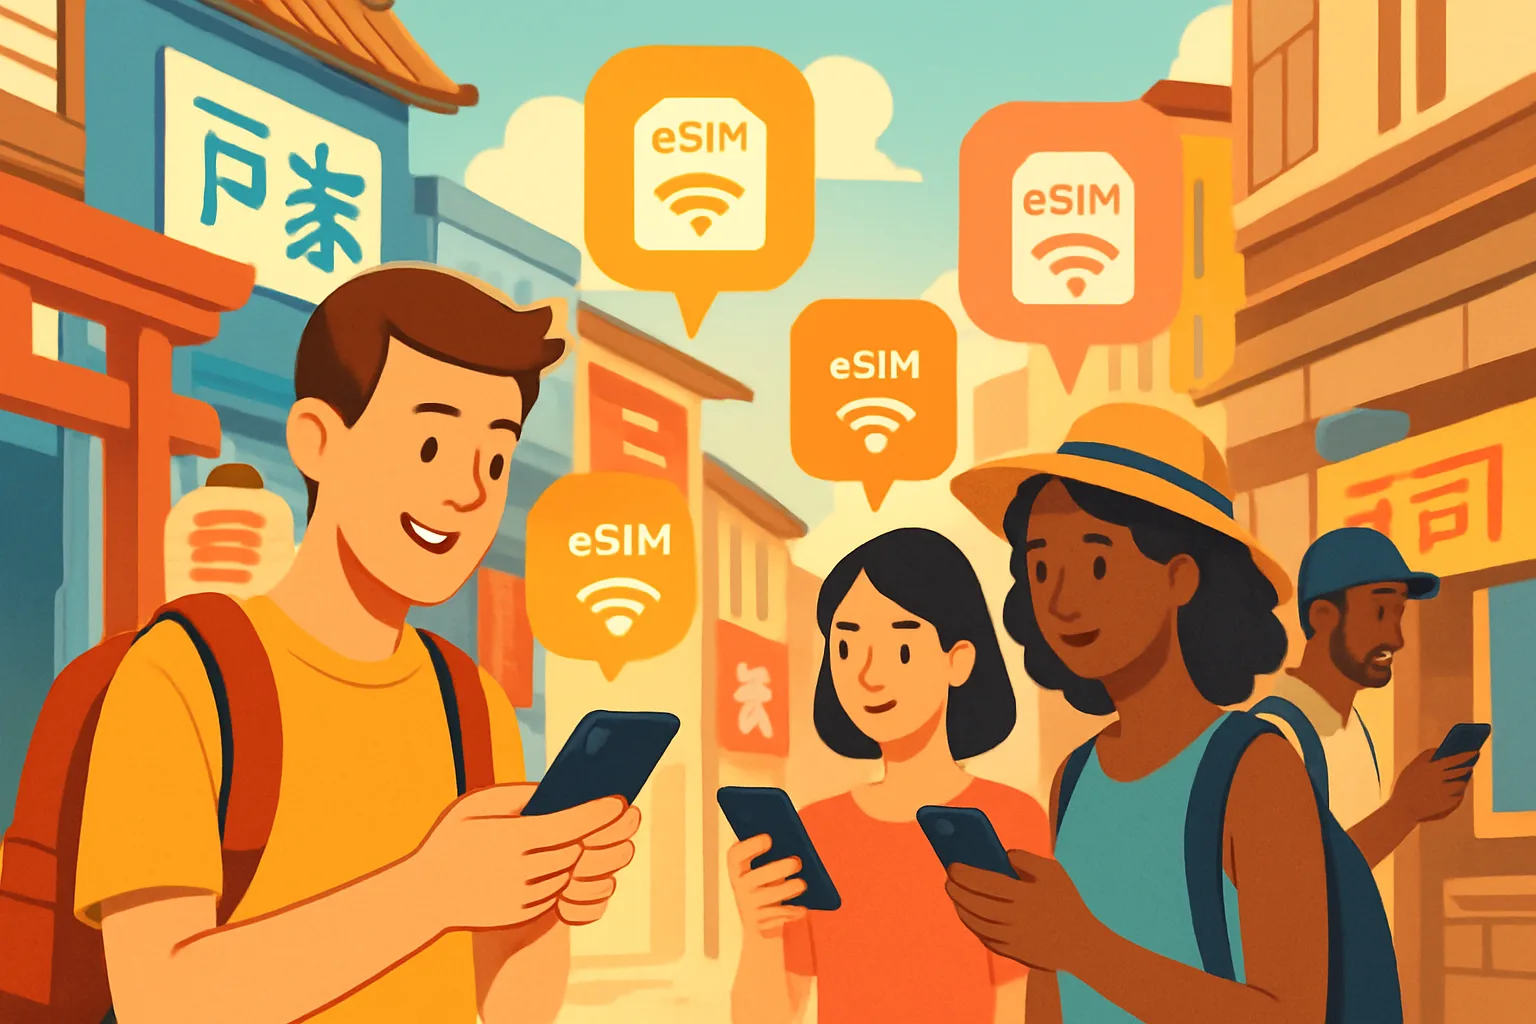
Japan eSIM under $10 searches are not looking for a story. They are looking for a quick answer: which plan is safe enough for maps, trains, translation and reservations without overpaying. This page keeps the answer practical and price-aware.
Quick recommendation
For a 3-7 day Japan trip, start with a 3GB-5GB prepaid eSIM if you mainly use Google Maps, train apps, LINE/WhatsApp, translation and restaurant search. Move to 10GB or higher if you share hotspot, upload video, stream, or travel outside Tokyo, Kyoto and Osaka for several days.
| Trip type | Sensible data target | Best fit | Watch before buying |
|---|---|---|---|
| 3-4 days in Tokyo | 1GB-3GB | Lowest-cost eSIM | Short validity and no refund after activation |
| 7 days Tokyo + Kyoto | 3GB-5GB | Balanced tourist eSIM | Whether hotspot is allowed |
| 10-14 days multiple regions | 10GB+ | Wider-coverage eSIM or pocket Wi-Fi | Regional network partner, not just price |
| Group trip | 20GB+ shared | Pocket Wi-Fi can be cheaper | Battery, pickup/return logistics |
| Needs Japanese phone number | Data eSIM is not enough | Voice/SMS SIM provider | ID rules, activation timing and verification support |
What current comparison pages show
Recent eSIM comparisons show the market is crowded and prices move often. TravelSimAsia tracks cheapest Japan eSIM plans by trip length and data size, eSIMRated compares provider coverage and speeds, and TechRadar notes common providers such as Ubigi and Airalo. Use those pages for live price checks, then use the checklist here to avoid buying the wrong type of plan.
- Price references: TravelSimAsia Japan eSIM comparison, eSIMRated Japan comparison, TechRadar Japan eSIM guide.
- Phone-number context: tokyo.how SIM/eSIM guide.
Under-$10 Japan eSIM checklist
Use this before checkout:
- Confirm your phone supports eSIM and is carrier-unlocked.
- Check the validity window. A cheap 1GB plan is not useful if it expires before your final travel day.
- Look for hotspot rules if you travel with a laptop or share data.
- Check network coverage outside the Golden Route if you visit Tohoku, Kyushu, Hokkaido or rural onsen towns.
- Install the eSIM before departure, but activate mobile data only after landing.
- Save the QR code, order email and support page offline.
When a cheap eSIM is the wrong choice
Do not buy only on price if you need stable video calls, a Japanese phone number, SMS verification, or shared group data. In those cases, compare a voice/SMS SIM, airport SIM counter, or pocket Wi-Fi. A slightly more expensive setup is better than losing connectivity during check-in, ticket pickup or late-night transit.
Best practical setup
Install your eSIM at home on Wi-Fi. Keep your original SIM active for banking or two-factor messages if your phone supports dual SIM. After landing, switch cellular data to the Japan eSIM, test maps inside the airport, and keep airport Wi-Fi available until the eSIM connects.
Related Japan travel pages
- Planning a day trip: Mt. Fuji day trip without the crowds
- Arrival logistics: Haneda airport transport options
Sources
This article aggregates 1 sources. Click (source N) inline to jump to the matching entry.
- Cheap eSIMs for Japan: What Can You Get for $10? | Tokyo Cheapo tokyocheapo.com